
Grace Street Victorian: Chapter One

BEFORE: GRACE STREET VICTORIAN

AFTER: GRACE STREET VICTORIAN
Get ready for a deep dive because this is going to be a LONG one. Let's start at the beginning of my first home renovation journey, now featured in Architectural Digest: Clever.
In December of 2018, after months of casually perusing real estate listings, I stumbled upon a house in my dream location, with hidden curb appeal just waiting to be revealed... and it was WAY out of my price range. Like any true real estate enthusiast, I decided to tour it anyway. Half a bottle of wine at Rhum Corner on offer night later, and she was mine.
An estate sale, we lucked out—this century-old home, owned by one family for its entire existence, was now in my hands.
You can view all the after photos in my portfolio, but what you have yet to see are the before and during photos, of which I have PLENTY. I'll share all the details behind every design decision in a series of chapters, starting with the main floor and working my way up and down, room by room.
The Main Floor
The house is a century home—a semi-detached red brick Victorian. Its lot is 20' wide by just over 100' deep, at the top of Trinity Bellwoods Park, straddling Little Italy and Queen West. This house faces East/West (aka great light), and it has incredible ceiling height on all floors. There was a lot to do, but the bones were there.

FRONT PORCH: DURING

FRONT HALLWAY: BEFORE
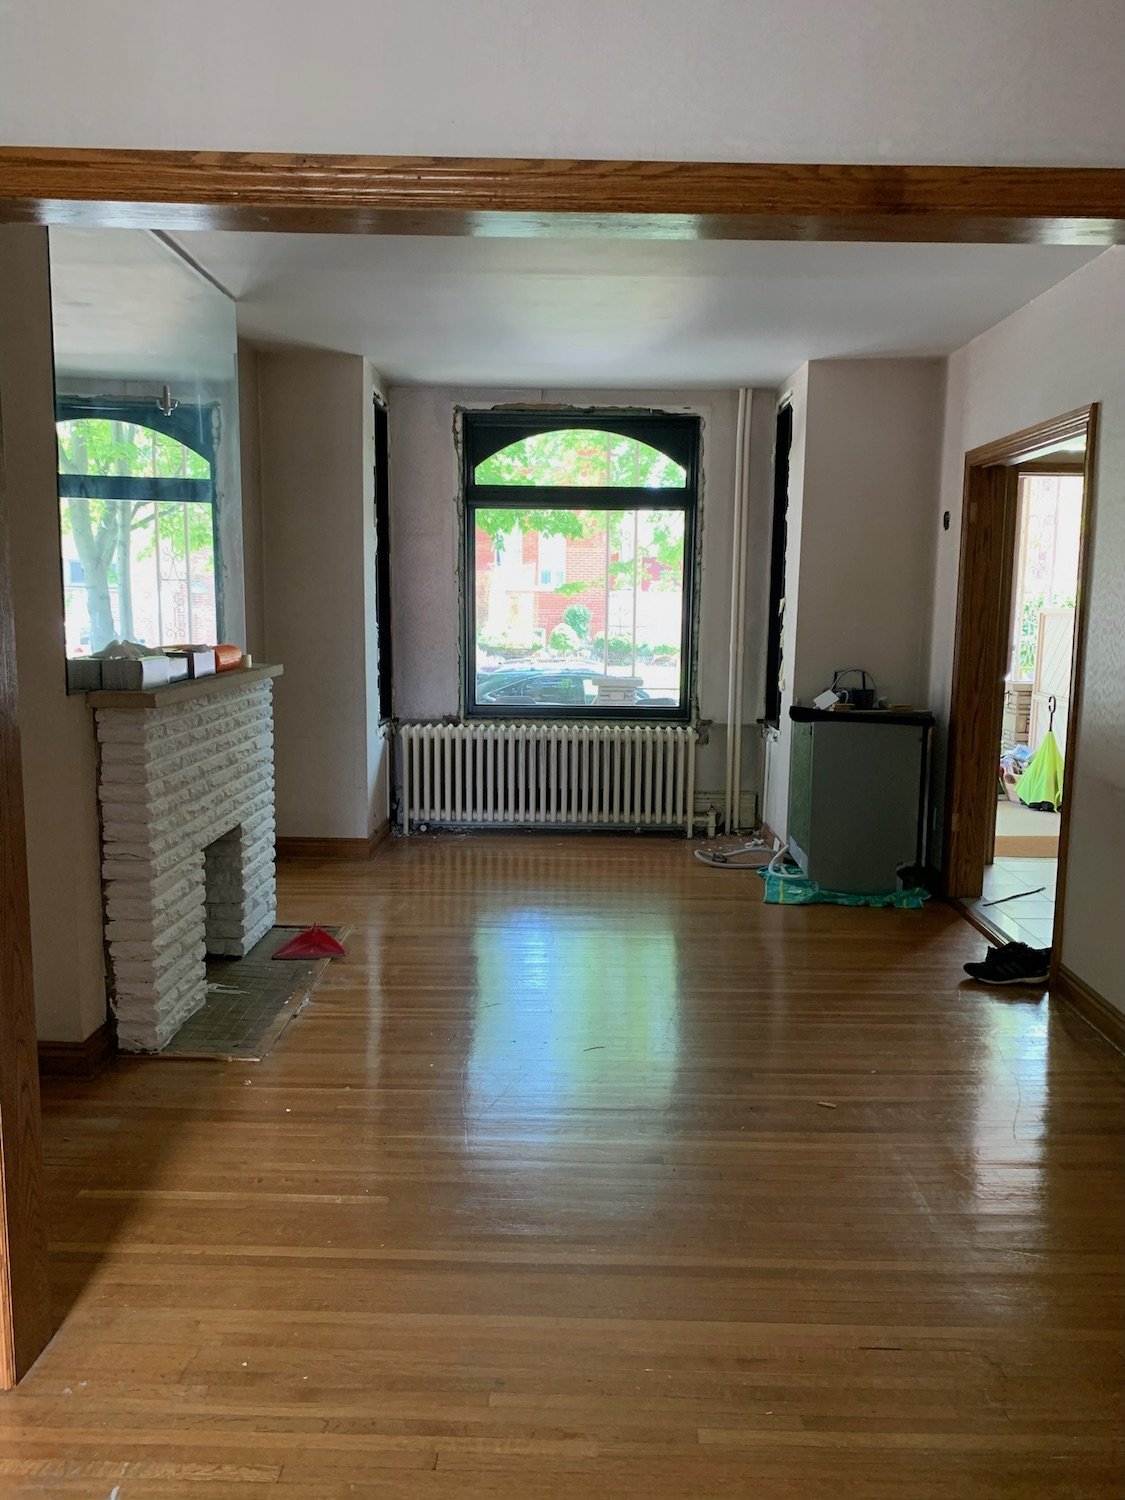
LIVING ROOM: BEFORE
It had the typical layout of its era: a series of sectioned-off rooms on the main floor, each with a formal purpose. There was a living room in the front, a dining room in the middle, and a kitchen at the back, all connected by a single hallway leading to the stairs and the basement. At the back of the house was a small, poorly done extension that housed a rather terrifying bathroom.
One of the main drawbacks of this style of home, and a complaint shared by many, is the lack of a front hall closet. It seems that storing clothes on the main floor wasn't a priority in the early 1900s!
To address this, we decided to reconfigure the stairs to create a sectioned-off foyer area, which gave us the perfect spot to add a closet. Since we were aiming for a minimal, modern, bright, and white look (with the intention of selling the house), I wanted to inject some personality into certain key areas. First impressions count, right? Even if you disagree, they do have a lasting effect. So, I turned to my long-time favourite store, The Door Store, and purchased these salvaged Egyptian doors.

ENTRANCE: BEFORE

SALVAGED EGYPTIAN DOORS FROM THE DOOR STORE
One of the major decisions we had to make during this renovation was whether to upgrade and keep the radiant heat or switch to forced air. We chose to stick with radiant heat because it offers a nicer warmth and allows us to avoid adding unsightly bulkheads everywhere.
I came up with various designs for radiator covers to conceal them, and the foyer cover might be one of my favourites—it doubles so perfectly as an entry console that I don’t think most people would look twice.
In an unconventional move, I moved the dining room to the front of the house. I knew we would add a peninsula in the kitchen and wanted to create the largest possible living space.
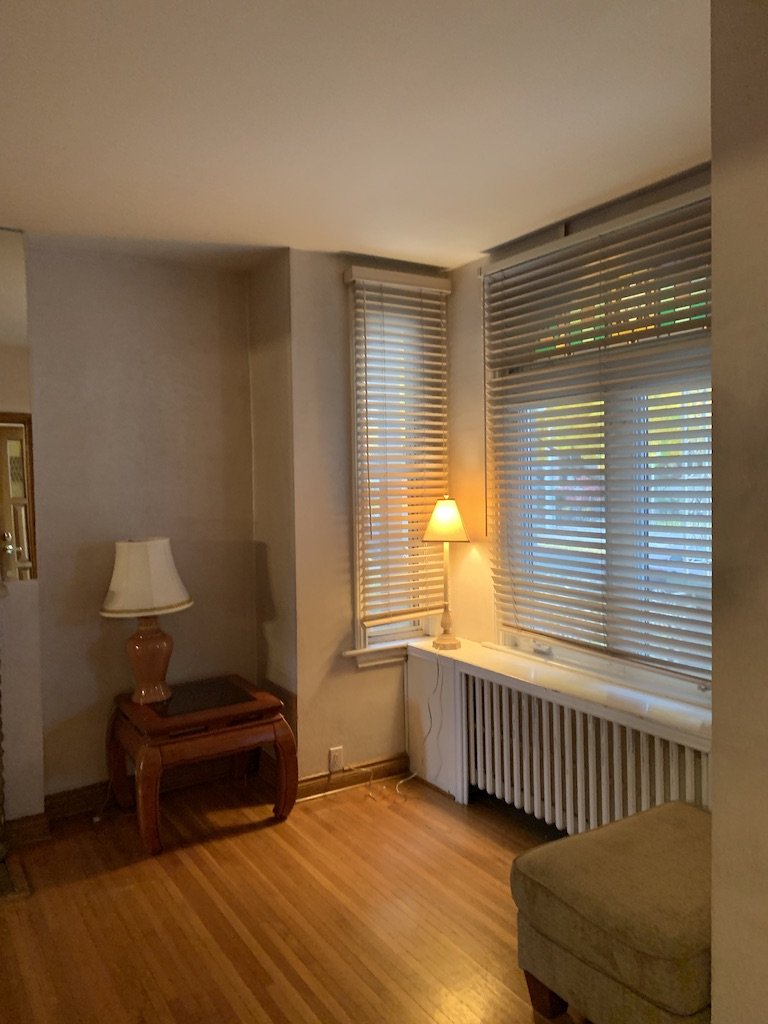
DINING ROOM: BEFORE

DINING ROOM: AFTER
The dining room had a decommissioned fireplace that I debated recommissioning but ultimately decided against due to the cost. The alcove of space beside it felt too valuable to just drywall over, so I integrated a hidden bar. Who doesn’t love a secret bar in a dining room? The front radiator, truly a behemoth, I converted into an integrated sideboard.
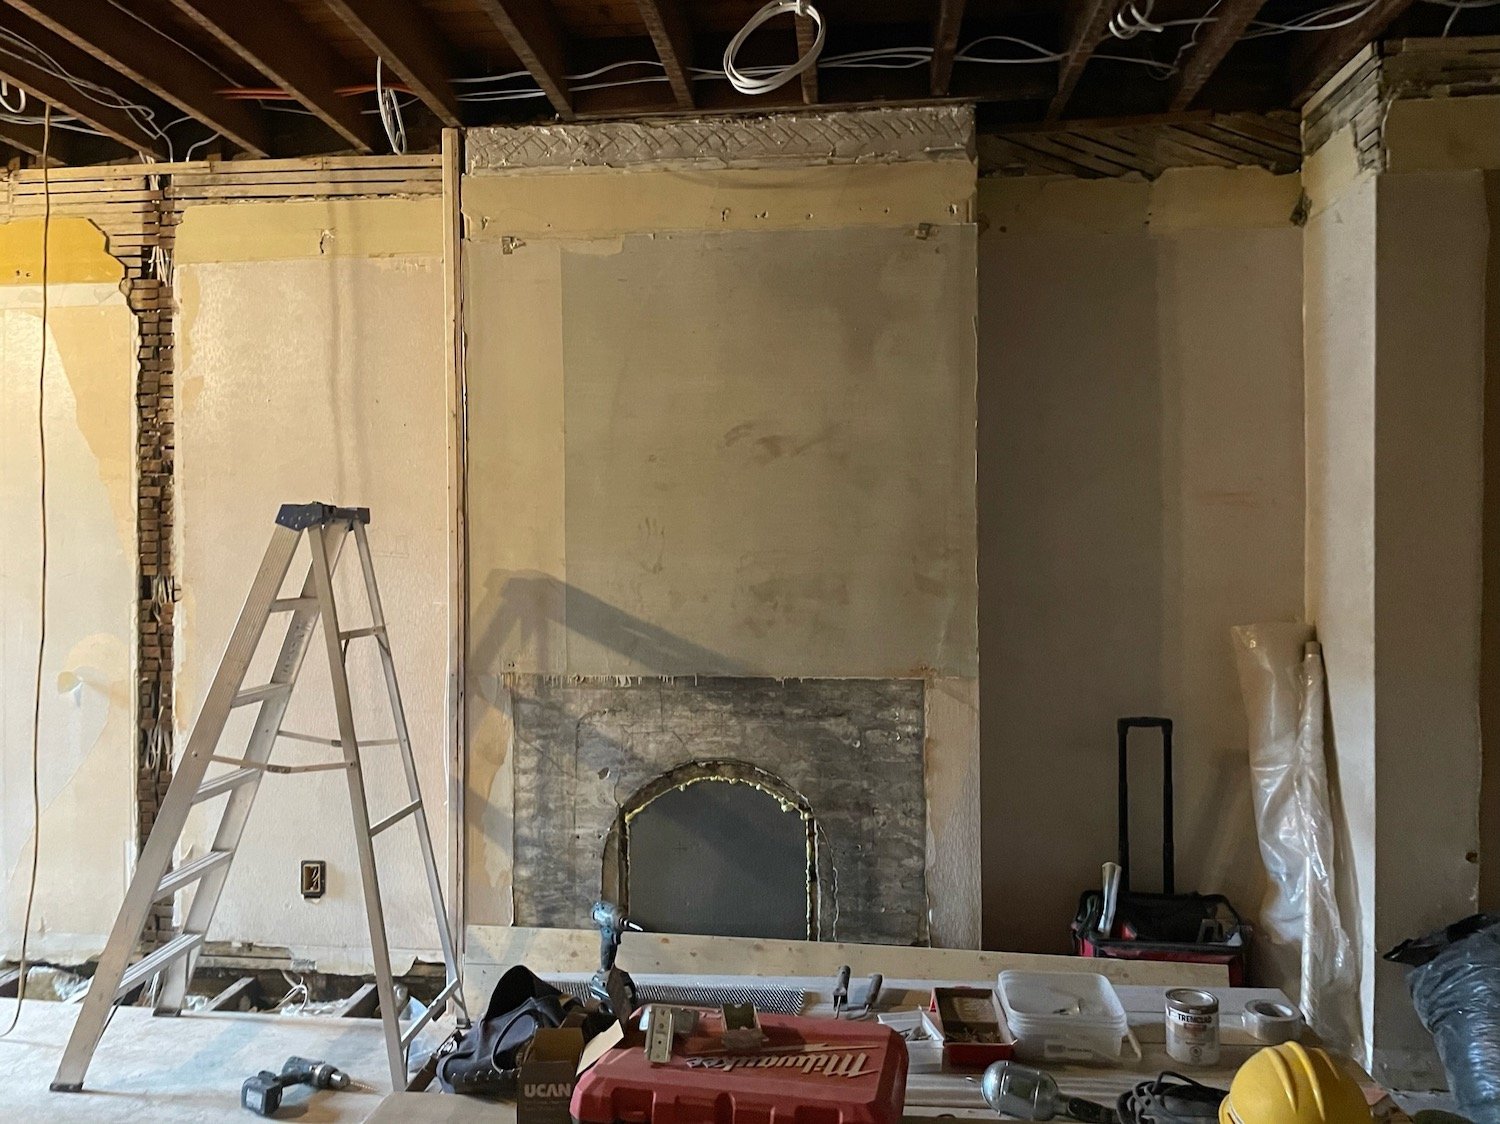
DINING ROOM: BEFORE

DINING ROOM: DURING

I TRANSFORMED THE ALCOVE BESIDE THE DECOMMISSIONED FIREPLACE INTO A HIDDEN BAR
In its "before" state, the living room was a closed-off dining room. Structural work is often the most expensive and time-consuming part of a renovation (permits, drawings, etc.) but also the most rewarding. I knew those walls were coming down from the day we bought this house.
The discovery of a false drop ceiling on this floor was a total game-changer, gaining us about 16" of additional ceiling height. The living room was one of the easier spaces to finish since we kept it clean and open. We learned that it was fairly common practice to drop the ceiling during the depression as a way of conserving heat and lower cost. Another disguised radiator, and the living room more or less worked itself out!

THE LIVING ROOM: BEFORE
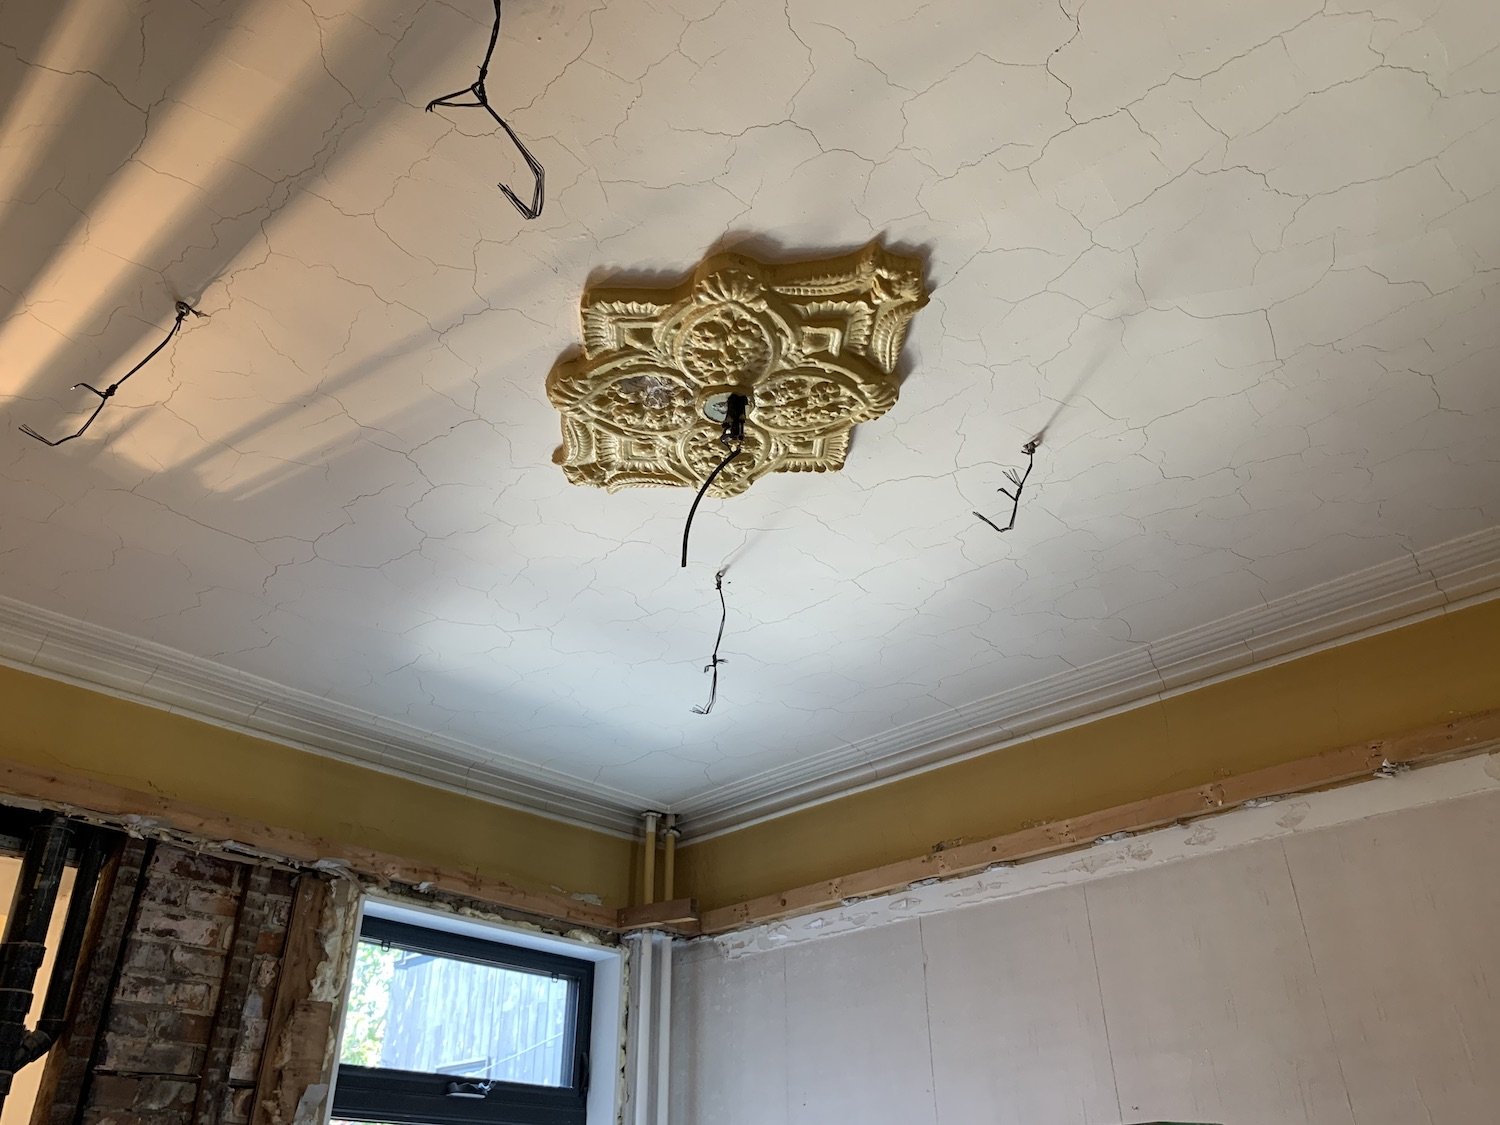
THE DISCOVERY OF A FALSE DROP CEILING GAINED US AN ADDITIONAL 16” OF CEILING HEIGHT

THE LIVING ROOM: BEFORE

THE LIVING ROOM: AFTER

THE LIVING ROOM: AFTER

THE LIVING ROOM: AFTER